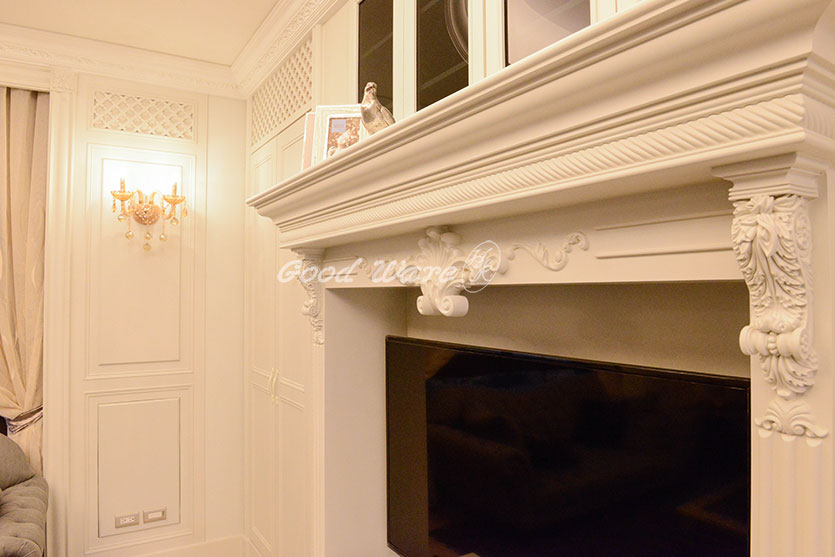
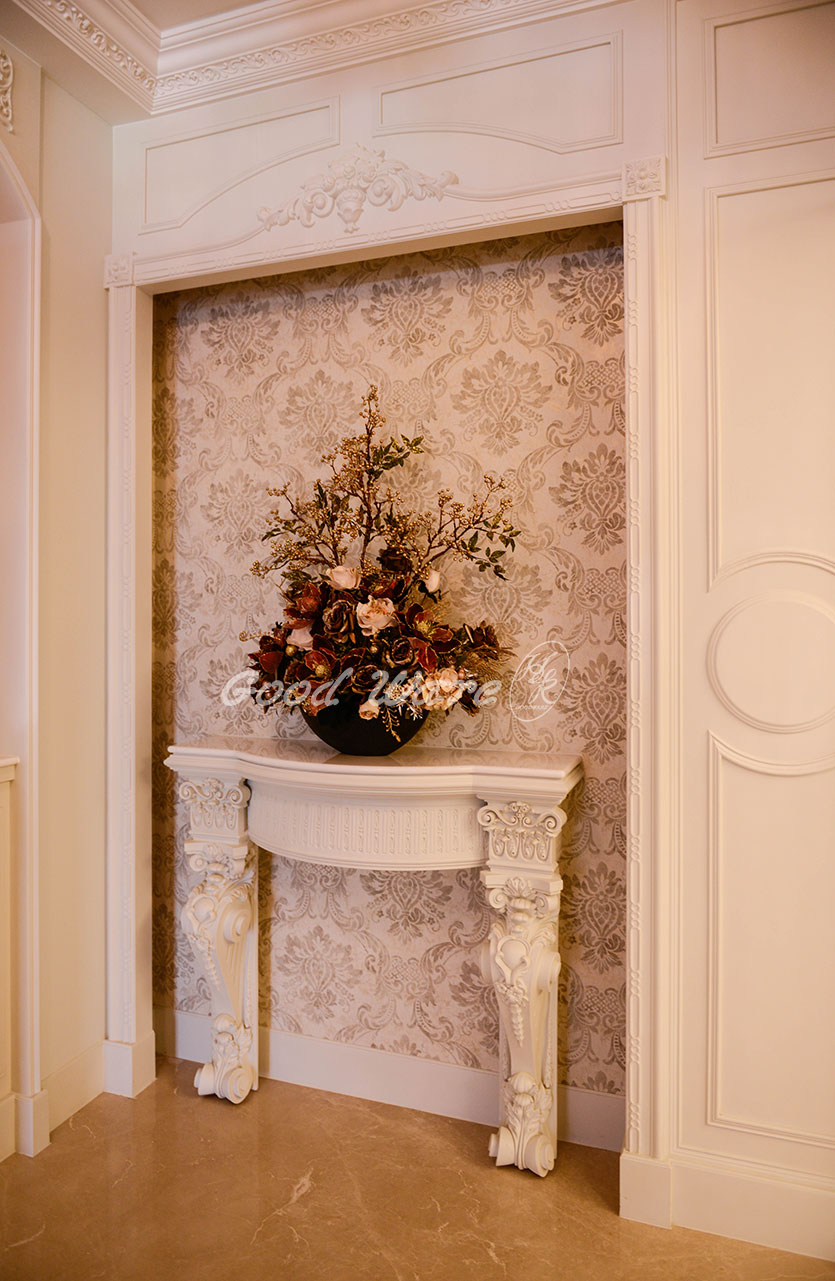
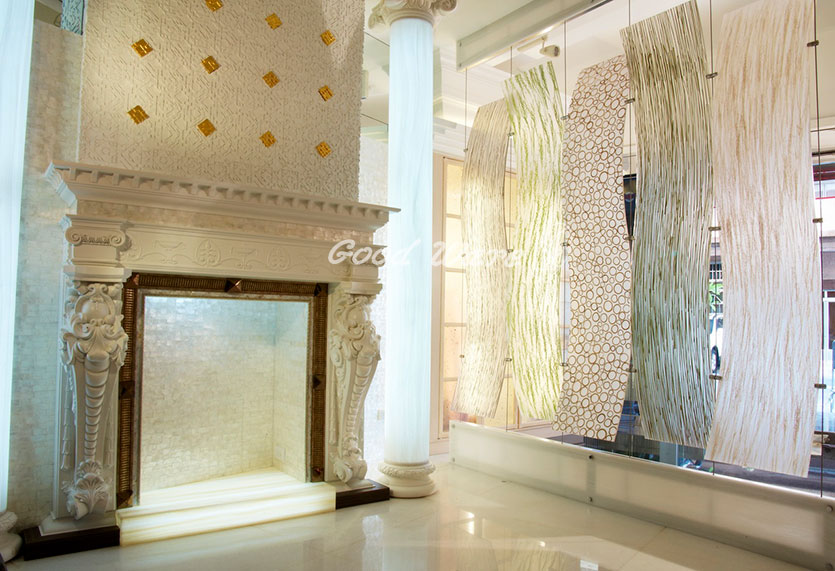
Fireplace surrounds, also known as a chimney piece, originated in medieval times as a hood that projected over a grate to catch the smoke. The term has evolved to include the decorative framework around the fireplace, and can include elaborate designs extending to the ceiling. Mantelpiece is now the general term for the jambs, mantel shelf, and external accessories of a fireplace. For many centuries, the chimney piece was the most ornamental and most artistic feature of a room, but as fireplace surrounds have become smaller, and modern methods of heating have been introduced, its artistic as well as its practical significance has lessened.
You may also like our products
 |
 |
|
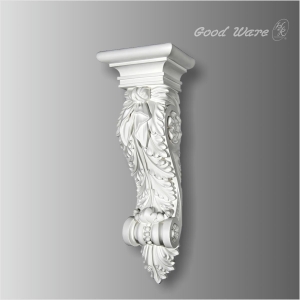
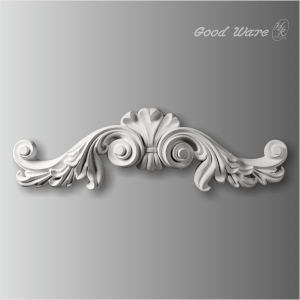
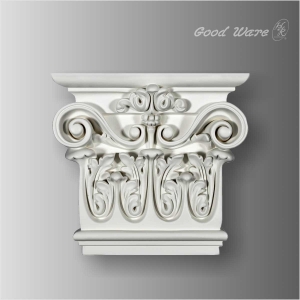
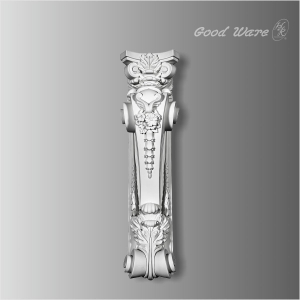
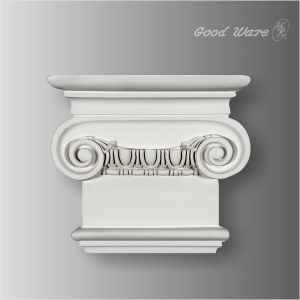
| WB-6101L Fireplace Mantel Corbel | WC-8420 Appliques and Onlays |
Three Steps to set up the fireplace surrounds
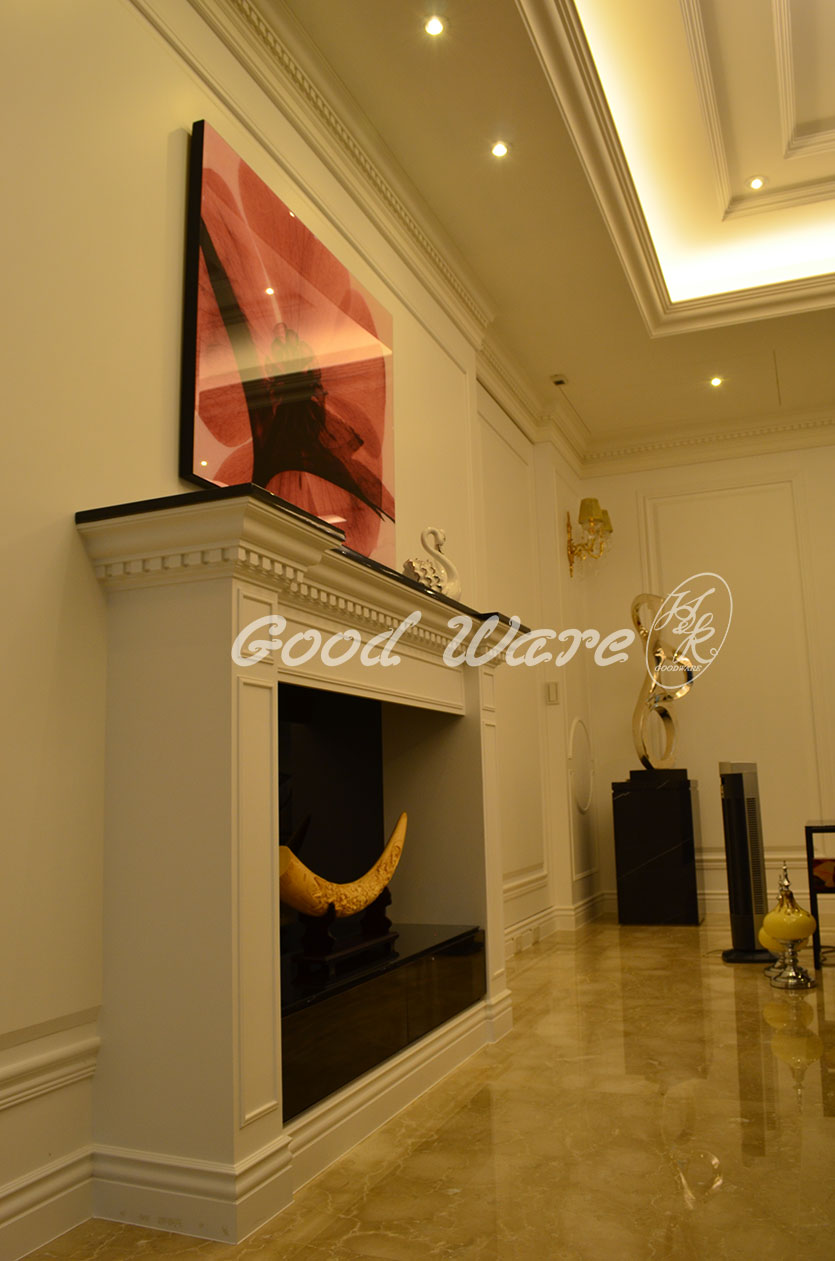
Modern fireplace surrounds
The lack of technological innovation in heating systems meant that people were cold! The fireplace surrounds produced uneven shallow heat and drew cold air into the room. They also gave off huge quantities of smoke. But change didn’t really begin until 18th-century expensive, light-colored fabrics began to be ruined. After all, it was only in the 18th century that designers began to use light-colored fabrics, and boy, did they show soot!
You may also like our products
 |
 |
|
| GL-111L Fireplace Corner | GL-8001 Polyurethane Surrounds |
Three Steps to set up the fireplace surrounds
- This assembly consists of several sub-assemblies(see illustration). You’ll get better results if you build and install these sections individually, so start by measuring your fireplace area to determine the best dimensions for your surround. There are no absolute rules here, but you’ll want to find pleasing proportions and meet the clearances required for using the fireplace safely. Our project measures 65 inches wide and 51 inches tall, with 7-1/2-inch-wide columns and a bridge beam to span between them. The exposed face/area of the bridge beam is 10 inches tall (an additional 2 1/2 inches along the top is concealed by crown molding).
You may also like our products
 |
 |
|
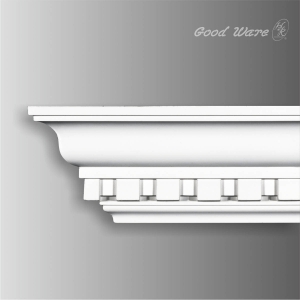
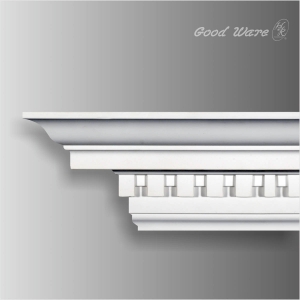
| GM-8601 Decorative Crown molding | GM-0110 Dentil Crown molding |
Three Steps to set up the fireplace surrounds
- The columns are a simple hollow box form, with butted edges secured with glue and 6d finishing nails. The front panel of each is fitted with a frame of 1/2-inch poplar trim to suggest a recessed panel, and the inside perimeter of the frame features a small befogmolding, cut to fit with 45-degree mitered ends at the corners.
You may also like our products
 |
 |
|
| GL-112 R Fireplace Corner | GL-6003 Fireplace Surrounds |
Three Steps to set up the fireplace surrounds
- The bridge beam has a shallower depth (front to back) than the columns, and it’s simpler just to sandwich pieces of PU molding together to make this. You can use three full-size pieces (laminated together with glue and finishing nails) or one full-size piece for the front panel and narrower strips around the edges to add the remaining two layers. This section also gets the fluxframe-and-panel treatment using the 1/2-inch poplar trim and the befogmolding. Keep this detailing toward the lower part of the front panel to allow room for the crown molding to be installed later. For the mantel shelf, simply glue and nail two layers of PU molding together