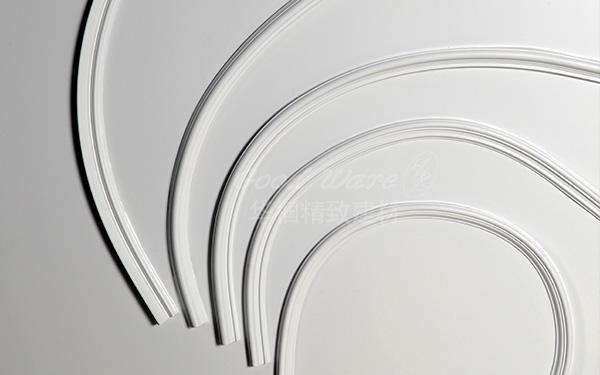
Usually, we installed some crown molding on the parlor floor. Does it get painted the same flat white paint that the ceiling is painted or the semi-gloss we used on the floor/baseboard molding? This article help you deal with this problem.
There is a difference of opinion – some suggesting semi-gloss and others opting for flat. Some house in the flat camp since that it was historical done with PU crown molding, which is more elegant. The advice from H&K Goodware Co. is that maybe you should do a test to see which you prefer. And our website has the plenty of pictures show you how they look like with different paintings.
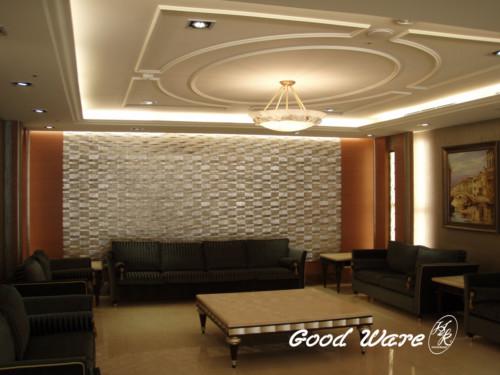
Crown molding should be the same as the ceiling. Traditionally, in Brooklyn brownstones, crown moldings were plaster as were the ceiling and walls. It was all painted with flat paint. There’s nothing to say you can’t use semi-gloss but, for now, a shiny molding up at the ceiling is available to match with greatest look.
Different Kind of Paint
Latex Semi-Gloss Paint
Crown molding made of PU is commonly painted with latex semi-gloss paint in a white finish. Latex paints bond well to polyurethane molding and coating the surface with a white semi-gloss paint finish gives the convincing resemblance of PU crown molding and provides a beautiful shiny finish. Painting polyurethane crown molding is accomplished using a paint brush or sprayer. Using a paint sprayer provides a factory-like spray finish. The smooth surface of semi-gloss paint also allows easier cleaning.
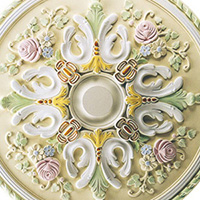
Faux Paint
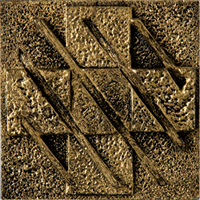
Faux painting techniques for molding are typically used to imitate the natural appearance of wood and stone. Faux materials for polyurethane are latex or water-based. Faux finishing molding using a PU grain technique mimics the natural look of wood and reduces the costly expenses of buying crown molding made of wood. Faux painting pu molding to resemble wood, requires creativity, a steady hand and a great deal of patience. PU faux techniques require the use of an artist brush.
Faux Paint of H&K Goodware polyurethane moldings
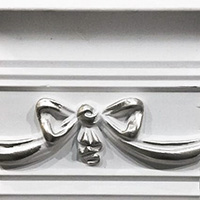
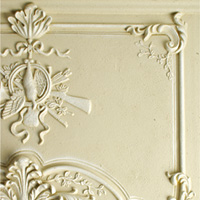
Hand Painted
 |
 |
 |
 |
 |
||||||
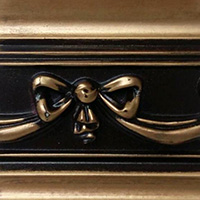
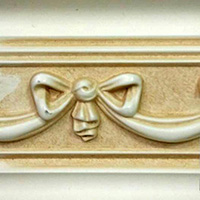
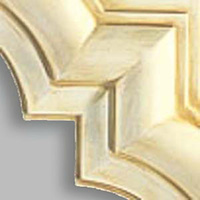
| Gold Painted | Silver Painted | Colored | Gentle Colored | Rich Colored |
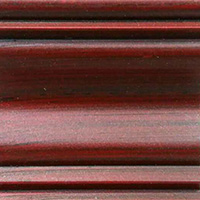
Antique
 |
 |
 |
 |
 |
 |
 |
||||||
| Brass | Antique Silver | Gilver | Bronze | Bronze Green | Wash White | Bone China |
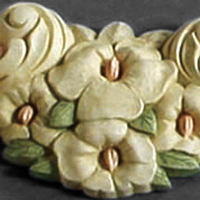
Faux Wood
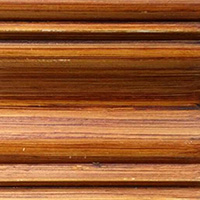 |
 |
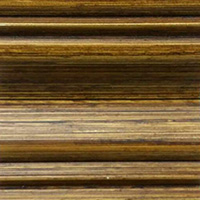 |
||||||||
| Teak | Mahogany | Walnut |
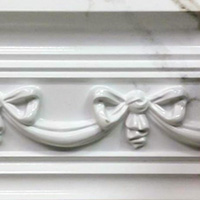
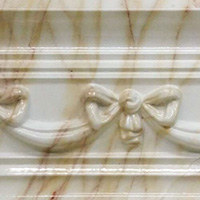
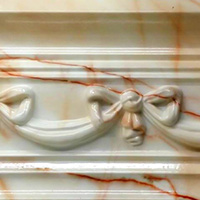
Faux Stone
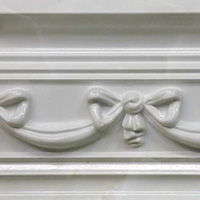 |
 |
 |
 |
 |
 |
|||||
| Marble (Classic Grey) | Marble (White) | Marble (Vellum) | Marble (Agant Red) | Balsam Green | Ivory |
Attention
If we already make finish on the product, we will paint with transparent protection coating before send out the product to prevent any unpredictable changes happened on the product. Especially for the product has foil finish. Please do not stick or paste any other thing on it to prevent tear down the foil together with tape/sticker. (many painter accidentally stick the paper tape on it) The product line mostly cause arguments because of its color to a person’s impressions is different. We recommend when use this product line, make sure consult with professional salesman or check a small parts of sample before start to use.
Latex Enamel Paint
Painting polyurethane crown molding with a coating of latex enamel paint creates a hard and durable surface. Traditionally, enamel paints were only available in oil-based products, but now you can purchase latex enamels. Oil-based enamels and paints are not suitable or recommended for painting polyurethane crown molding. However, latex enamel does not harm polyurethane and gives the illusion of wood and stone. A latex enamel finish resembles the sleek look of oil-based enamel and provides a surface harder than a typical semi-gloss paint.
How to Paint a Crown Molding
Two coats of paint on trim, ceiling and walls. Start from the top and then work your way down.
1. Paint the crown two coats
2. Cut in the ceiling
3. Roll the ceiling
4. Repeat steps 2 and 3 for second coat
5. Paint two coats on the feature pieces like door surrounds and wainscoting
6. Paint two coats on the baseboards
7. Cut in the walls (sometimes I’ll add an extra cut in coat to cover the trim over paint really well)
8. Roll the walls
9. Repeat steps 7 and 8 for second coat