Nowadays, the sense of home fashion has experienced a few changes since from the last decades. People also come to think about redecorating their homes with more decorative elements, which means it’s the perfect time for some home decor inspiration. There are literally thousands of different ways to make beautiful art for the walls of your home or office.
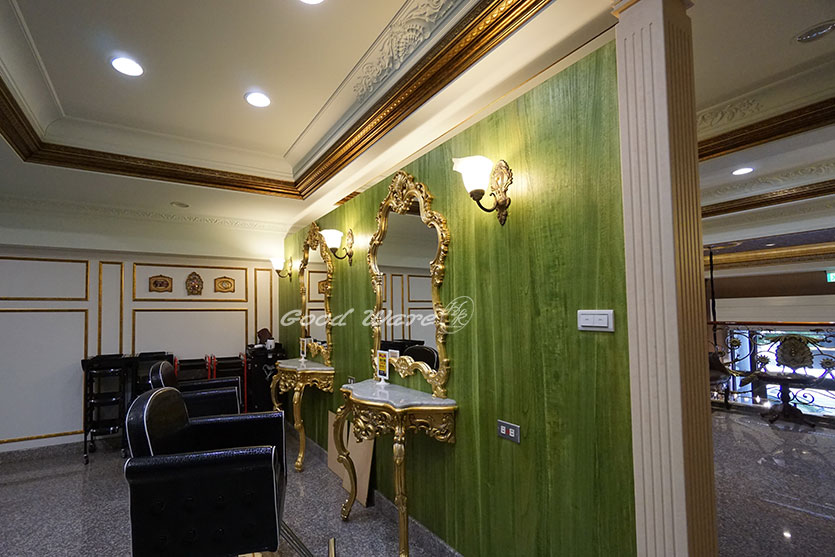
WALL ART IDEAS
About home decor wall art ideas, we thousands of decorative ideas that would make your house beautiful. Whether you’re into metallic or neon, color block or obscure, 2D or 3D there’s an idea here to fit your home and your budget. Be sure to tell us in the comments which are your favorite.
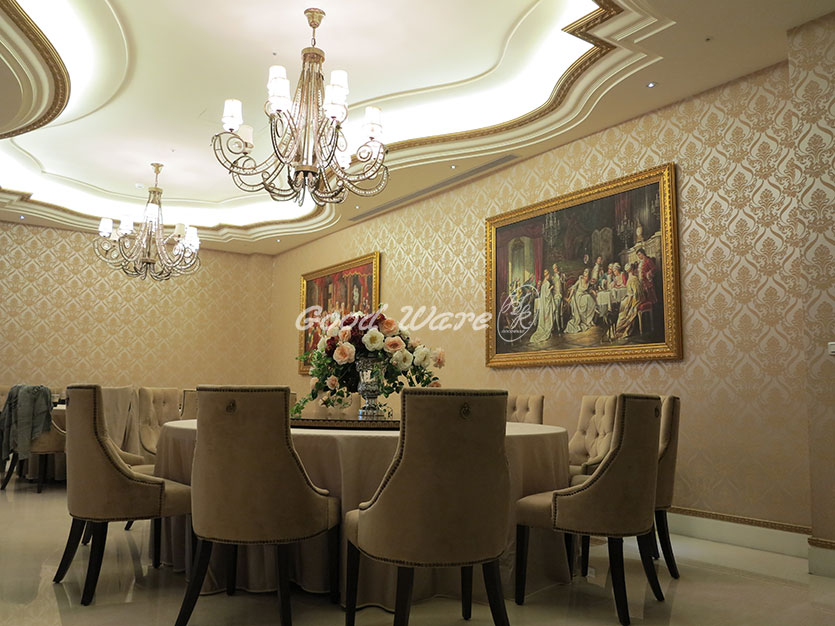
Framed wallpaper.
There’s more than one way in which you can use wallpaper. If you have some leftover pieces you can use them to make beautiful artwork for your walls. Pick a frame from an old photo, mirror, etc., cut the wallpaper to size and display it.
Make your own DIY wall art.
Doilies may seem like something only grandma would use but there are ways in which you can incorporate them in your own home without creating an outdated look. gather some canvas, paint, scrapbook paper and some doilies and get to work. {found on mod}.
How to: Make Colorful 3D Geometric Wall Art
- Start by taping off various shapes on one of the frames in circles. Be sure to press the tape down securely, especially at the edges, for a crisp line when finished.
- Paint inside the taped off area, and allow to dry.
- Remove painter’s tape and begin the process again with another color. Or keep it simple, and use only one color. Or use three! Have fun with it.
- Repeat this process for all of your circles in various sizes, and be sure to mix up the patterns and color combos.
- Now, it’s time to cut some dowels. Using a rotary tool or saw, cut various lengths from the dowels (I stuck to four different sizes for this project – one short, one medium-short, one medium, and one tall). The dowels will determine how far away each circle will rest from the main square frame that everything is connected to.
- Once the dowels have been cut, set aside and do a dry fit to roughly map out the positioning for where you want the painted circles to line up when everything comes together. Once you start putting everything together, this layout might change, but it’s good to have a game plan when you get started.
- With the design in place, it’s time to start gluing the dowels to the back of each circle. Flip over all of your circles and using a strong glue, attach a dowel to the center of each circle and let them dry according to the instructions on the glue bottle. Clamp if necessary for thirty minutes to an hour and do not stress joints for a full 24 hours. You can also use the painter’s tape to hold things in place while the glue dries.
- Next, attach a saw tooth hanger to the upper center of the hardboard or hard base. Flip over.
- Now, that you have given the dowels enough time to fully dry and attach securely to the circles, you are ready to attach the dowels to the base with more glue. Additionally, nails can be hammered through the underside of the base and into the dowels for extra security. This helps keep the dowels in place while the glue is drying, in addition to extra security, but is not required.
- Allow the entire piece to dry for a full 24 hours before hanging.

