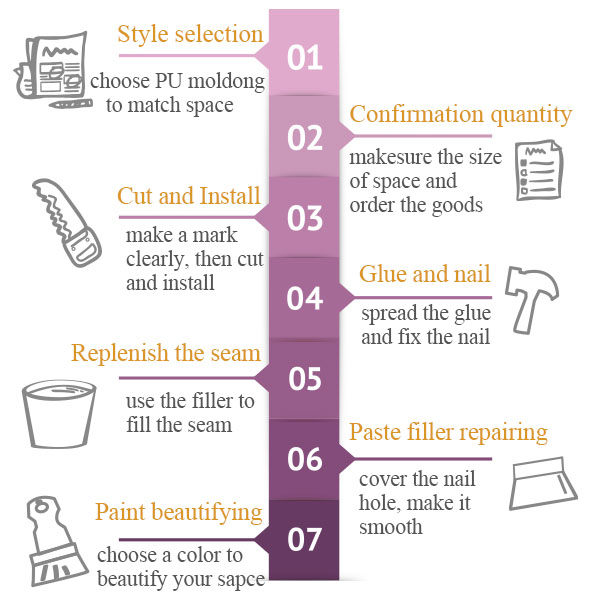
The PU molding is the basic material for the European style design. The number one brand of PU molding is the Goodware company. The Goodware is the best company for delicate technique and innovative visual arts. How to use the PU molding to show the sense of 3D and multi-level, and also beautify the space? The secret is the seven steps of installation.
-
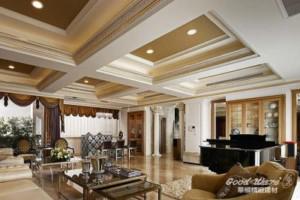
Style selection
There are many styles of PU molding. How can you choose them to match your interior decoration? The interior space divided into three parts, ceiling, wall, and floor. The high ceiling can use the heavy multi-level PU molding. The wall can use the carved patterns PU molding.
-
Confirmation quantity
After selecting the style of PU molding, you need to measure the size of the installation place. A PU molding’s length is 240cm (7.87ft). The size of interior space divided by the length of PU molding, and then carry the amount plus 2~3 PU moldings. This is the correct amount that you need to order.
-
Cut and installation
When you are starting to install the PU molding, we suggest that you can install from the corner. Two PU moldings cross-match on the corner of 90 degrees, then make a cross mark on that position. Put one of them on the cross mark and make a cutting mark on it.
-
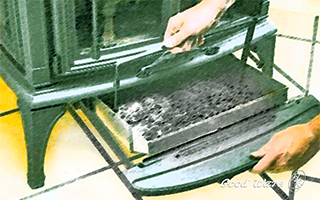
Glue sizing and nailing
After cutting the PU moldings, spread the wood glue on the up and down sides of PU moldings’ back. Put them on the wall and use a nailer to fix the nail. You need to choose the nailed position on the unapparent place. If it is the concrete wall, you need to use steel nail to fix the PU molding.
-
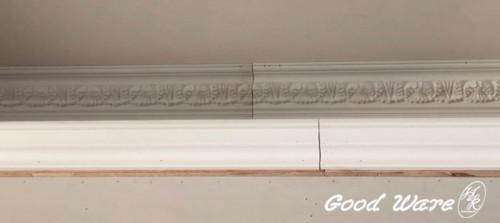
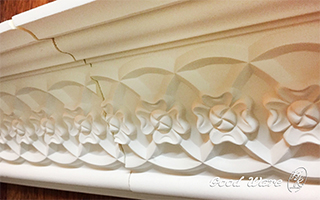
Replenish the seam
You can use the filler to fill the expansion joint of two PU moldings.
-
Paste filler repairing
Use the paste filler cover the nail hole and use sandpaper polish the surface. They can make the surface of PU molding becomes flat and smooth. We suggest using the sandpaper of number 180 or more.
-
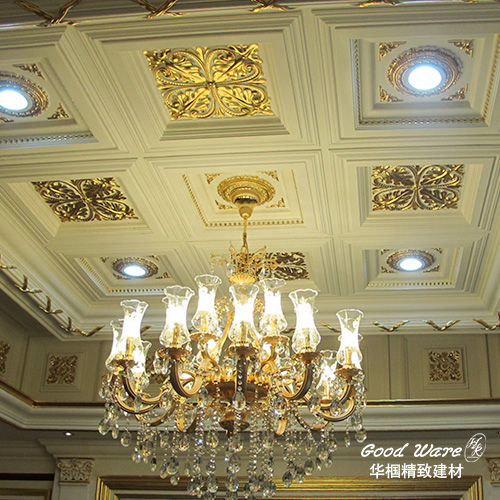
Paint beautifying
After installing the PU moldings, you can decide the color of space, such as rose white or lily white. You also can choose paint flash effect to beautify your space.
Let’s understand about primer and topcoat before painting.
(1.) Primer: use it to make the base more flat and smooth, also enhance the adhesion of topcoat.
(2.) Topcoat: spread it on the surface of the wall. It can show the visual effects.
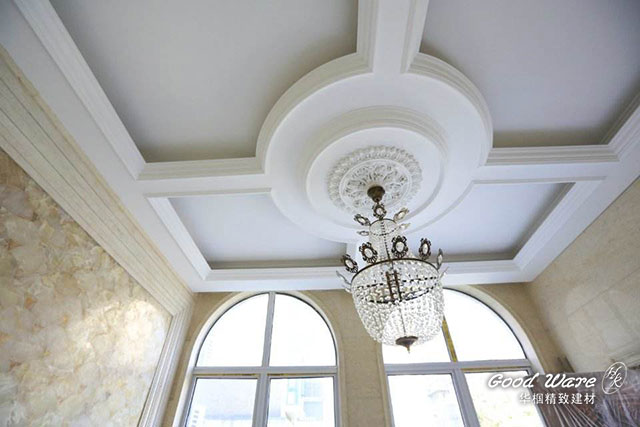
As a result, the completion of the install steps can display the consistency of PU moldings and interior design. You also can see the 3D and multi-level effects!
Contact info: customer.en@goodware.com.tw