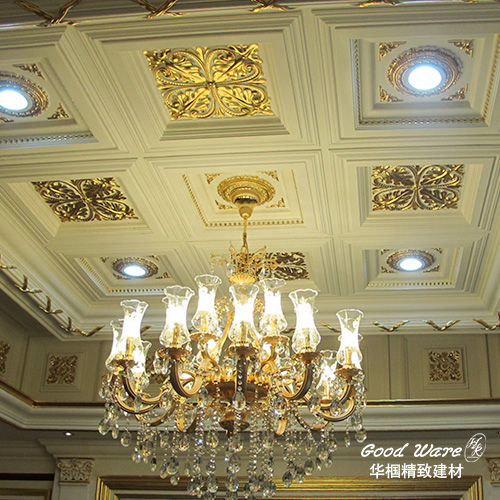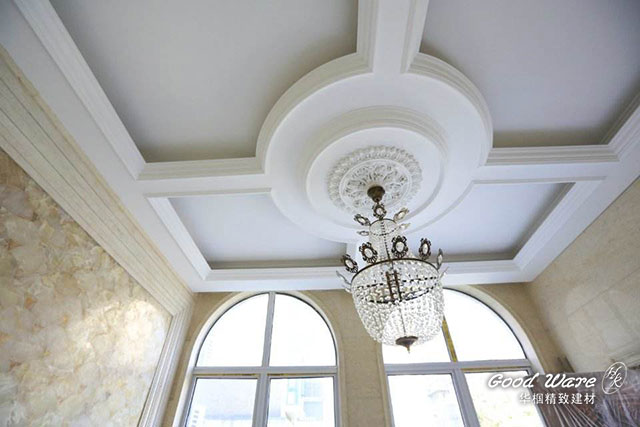
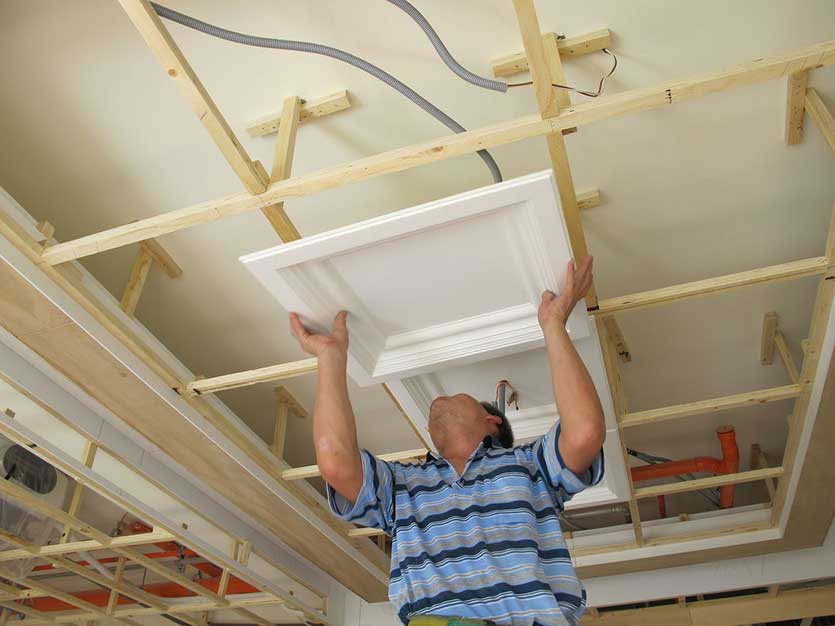
To install a 3 × 5 grid ceiling frame, for example, to prepare 15 ceiling tile products (WR-8100), is expected to install on the ceiling of the wooden frame. First measure, compared to the size of the product and skeleton grid is consistent, if the error and then adjust.
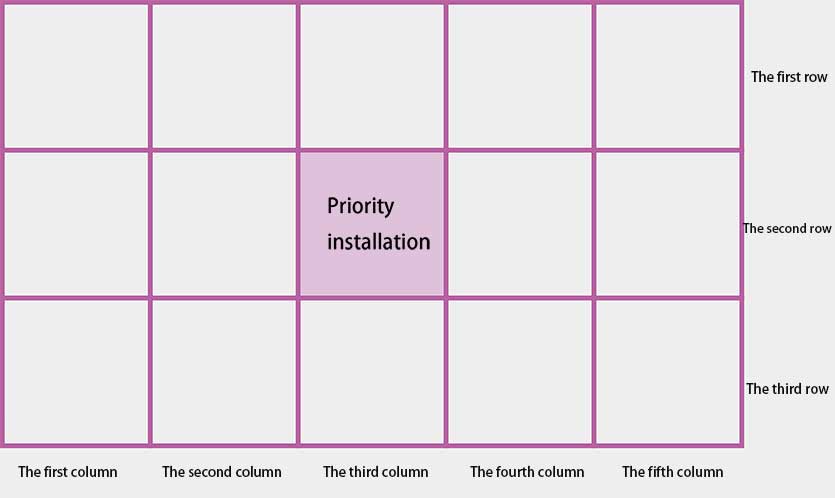
Installation order to the second row as a priority, the second row (middle column) is installed, followed by the first or third row (no difference); single row of the first line to install, and then order to the left and right line. To the principle of installation from the inside to the outside direction, the purpose is to make each three-dimensional ceiling products symmetrical, uniform, not because of product trim factors and the size of the situation. Take the second row as an example, the installation order is the third column → second, four column → first, five column.
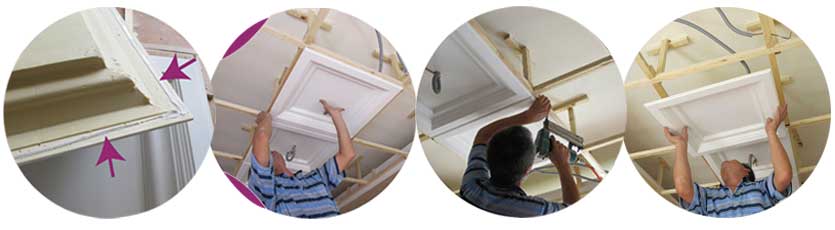
Construction steps
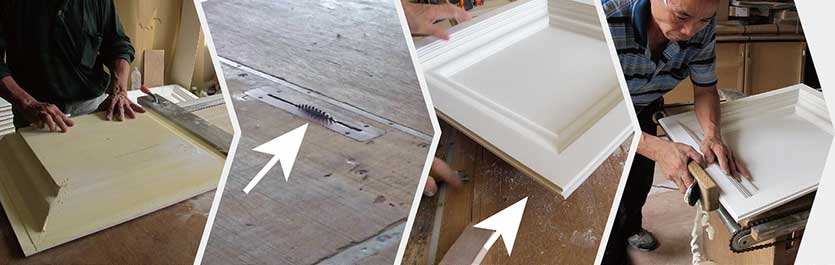
- Size fit can be installed directly. In the back of the product on the four sides of the smear-free nail glue or white plastic (with the wooden grid at the junction, that is, the location of the arrow).
- Install the product into the frame and press it to fit it completely, and then use the nail gun to fix it in four corners.
- In the product on both sides of the nail to strengthen, increase support force. The viscose is the primary connecting material for the combination of the product and the ceiling skeleton, and the staples are used as an aid to enhance the binding force.
- “Middle row” of the “middle line” the first installation, followed by the left and right two cells. ceiling tile are installed in accordance with the above steps. First than the size of the product and skeleton grid is consistent.
Error correction method
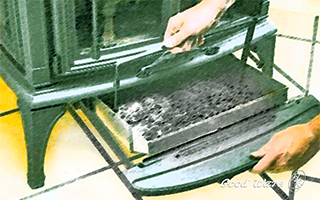
- If you find the product and skeleton grid a little error, mark and cut.
- Use the working saw to cut the mark at the mark of the product and remove the excess. The height of the saw blade is lowered, and the saw blade is about 3 mm high, and adjusts (arrows at the point), and grooms on the same side to make the same L-shaped groove as the original.
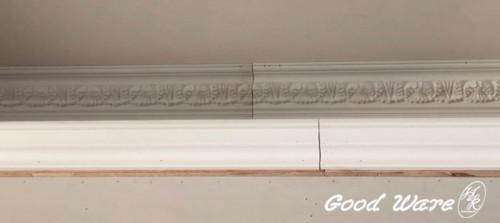
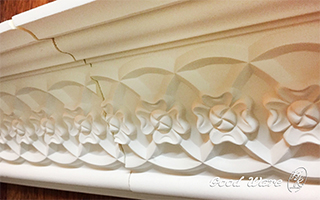
- And then use the utility knife to repair the excess, so smooth. The design of the groove (at the point of the arrow) is used for the purpose of being easily erected on a light steel frame, but it is only for the sake of integrity and aesthetics.
- Finally, then the side of the planer to do with the fine adjustment and edging.