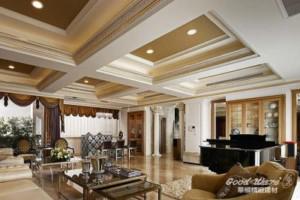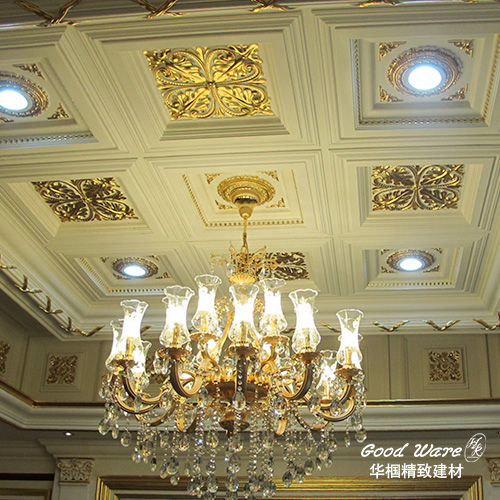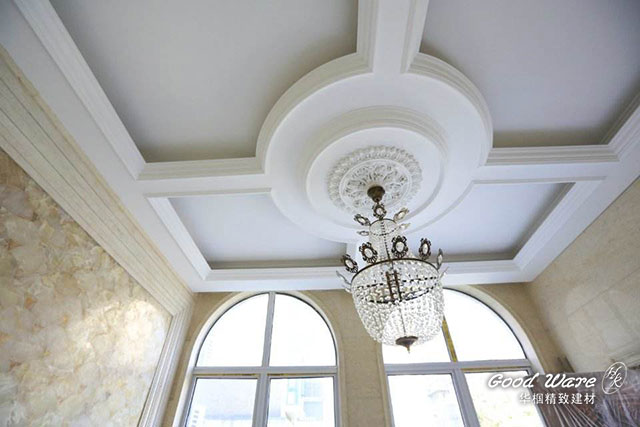
Do you want to make your home livelier when you see the dull wall or cabinet? The flexible molding is your best choice! We previously introduced the décor effects of the flexible molding. You can create your own patterns and make your home décor special. If you are a DIY person, you will want to install the flexible molding by yourself. Therefore, Goodware is going to show you the construction steps. Let’s see how to install the flexible molding.
How to install the flexible molding
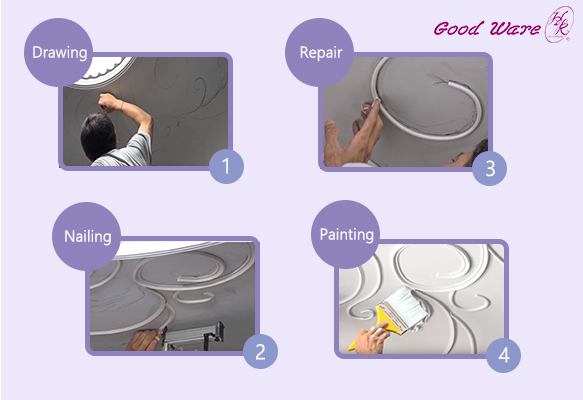
Step 1 – Drawing
First, choose a pattern or your own painting and output it for 1:1 size. Second, cut down the pattern carefully. Then, draw the pattern on the area where you want to be lively, such as the ceiling or door.
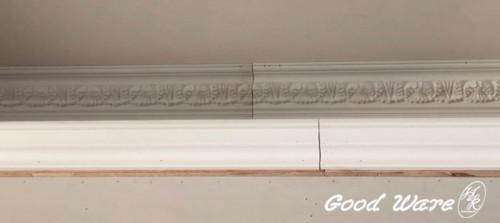
Step 2 – Nailing
First, measure the required length of the flexible molding. You can use a soft rope as a measurement tool. Second, spread the white glue evenly on the back of the flexible molding. Attach it to the installation area. Third, use a damp cloth to wipe the overflow white glue. After that, use a nail gun to fix it tightly.
Step 3 – Repair
After nailing, there must have a lot of nail holes. There are two things that you can use, wall putty and silicone. Use them to cover the nail holes. You can use a fine brush or your fingers.
Step 4 – Painting
Choose a color which matches with your home style to paint the flexible molding. After painting, a vivid painting is in front of your eyes. Increase the three- dimensional of the wall or ceiling.
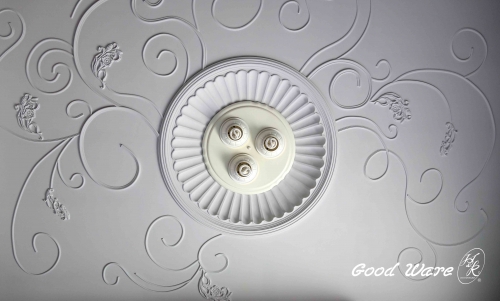
As a result, after you’ve learned how to install the flexible molding, installing a PU molding is not a difficult thing. Mix and match different patterns are also alternative ideas. Come to check out Goodware flexible moldings to show your creativity!
Contact info: customer.en@goodware.com.tw
※ Copyright for all GoodWare, reproduced indicate the source